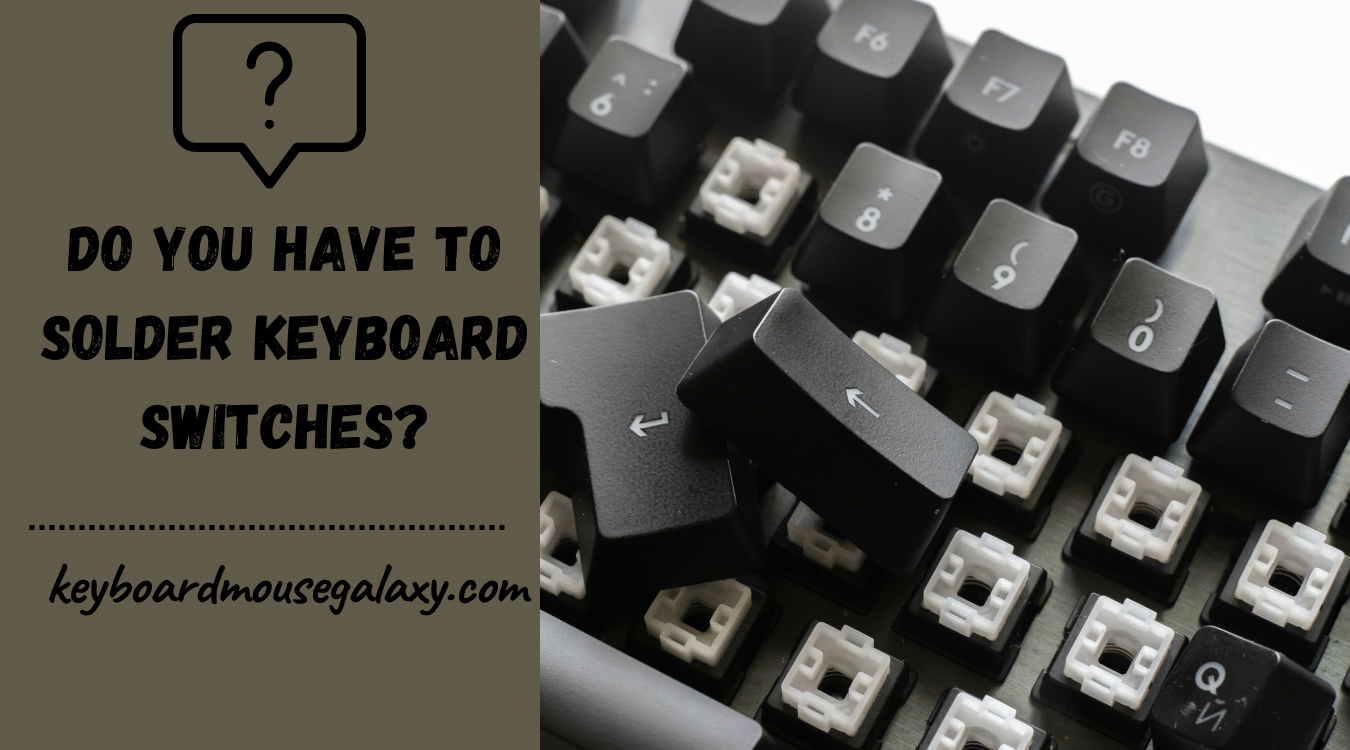
If you are building a keyboard so you have to solder keyboard switches into the PCB so that the keyboard works efficiently. You may need to solder your keyboard if the present solders get damaged or broke down due to any reason.
For most keyboards, a solderable PCB is used and it allows an easy soldering process when you are all set to outfit a custom keyboard. It features great flexibility in regards to the location of switches similarly you could opt for a split spacebar if you are willing and many other fine options as well.
While working on solderable PCB you may need some extra stuff for assembling, which includes desoldering tools and soldering iron as well. As mentioned above you can set any layout you prefer without many limitations with solderable PCB. For a soft typing feel you can use the half-plate with PCB as well.
But you need to be extra careful if it is your first time using soldering iron because you might damage the PCB while soldering every individual key into it.
Before diving straight into the depth of how to solder keyboard switches, let’s first check out what’s the importance of using good soldering ways?
It is crucial to keep your PCB neat that is necessary to prevent electronic mishaps for instance short circuits, which might cause severe damage to PCB or keyboard. If you don’t pay attention and go on with messy soldering tasks so excess flux or stray blobs of wire on board may cause short circuits. If the short takes place it can permanently damage key inputs and LEDs on board.
Using a safe and secure soldering way is much needed when you are working on a custom keyboard, cleanliness while soldering not only saves your board but also makes it easier for you to resell it.
Click To See Content Of This Post
How to solder mechanical keyboard switches?
Step # 1 Safety Measures & Tools
Simply you need soldering iron and solder wire, however, it is better to be protected with goggles. Although you will need some basic tools for splitting your keyboard like a screwdriver it is a process that anyone can do easily. You should be careful handling soldering iron and must clean up residual flux while it is hot as it can be easily removed using a jay cloth.
Step # 2 Start with Unsoldering Board
De-soldering is super easy, heat the existing solder using the iron and just eliminate it with a tweezer. In case you are facing trouble removing present solder so you can heat new solder wire over existing solder and then heat old solder to the liquid state.
Step # 3 Soldering Mechanical Keyboard
Hold the solder wire strip in one hand and soldering iron in your controlling hand to handle the iron with care, if you want you can cut the long strips of wire and place them near to you. Keep your iron close to the circuit (but don’t touch) you are going to solder, slowly push solder towards the iron so that it heats up and the melted liquid drop plop at the joint you want to solder. When you are done adding enough, remove the heated iron and solder and let it cool for a while.
Repeat the process for each switch circuit and do not forget to test the switches after that.
Related Guides:


![Dell kb216 Keyboard Driver Error [SOLVED!]](https://kmgadvice.com/wp-content/uploads/2023/04/luca-bravo-XJXWbfSo2f0-unsplash-360x240.jpg)